Using VidCAD Profiles
VidCAD Profiles were created to assist users who run multiple databases, such as a local database and a networked database. Users can now switch between different database and directory locations without making any changes to the VDP.INI file.
Note: Users with standalone installations running only one database do not need to create additional profiles.
1. Open the VidCAD Main Menu.
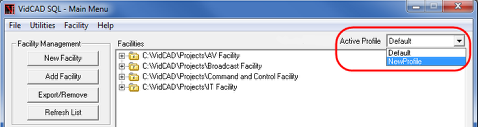
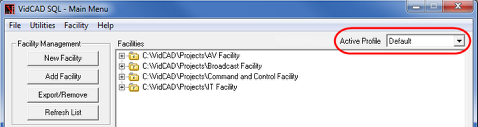
2. During installation a “Default” profile is created and displays as the Active Profile.
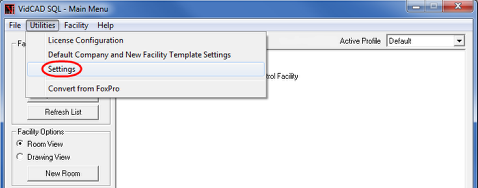
3. Select “Settings” from the Utilities pull down menu.
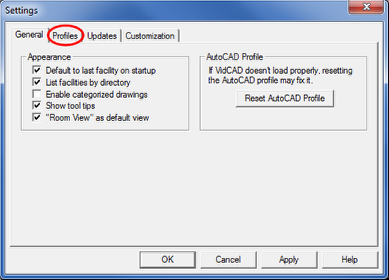
4. Select the “Profiles” tab from the Settings window.
5. Select “New” to create a new profile.

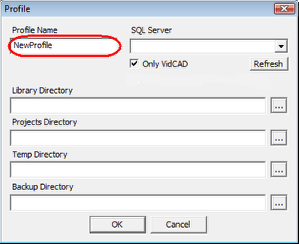
6. In the Profile window, enter a name in the “Profile Name” field.
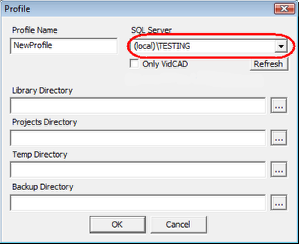
7. Select the SQL Server Instance you wish to use.
Note: If the SQL Server Instance you wish to use does not show up in list, you can type in the name of the Server and Instance manually (i.e. MyServer\InstanceName).
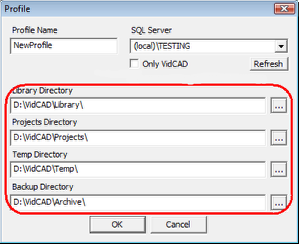
8. Select the Library, Projects, Temp and Backup directories.
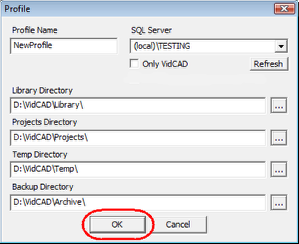
9. Select “OK” to close the Profile window.
10. Select your new profile from the Active Profile list.