Saving Drawings to the Phantom Directory
By saving a drawing to the phantom directory, you provide the flexibility to reuse it or modify it for similar systems in the current project or other projects. For example, if you have two Edit Suites to design, and they are identical (or at least very similar), there is no need to draw the second one from scratch. If you utilize saved Phantom drawings for this type of facility, you can cut your drawing time in half.
When using “Save DWG to Phantoms Directory,” the drawing is saved to a Phantoms subdirectory located in the current project folder.
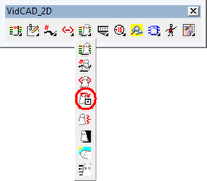
1. Select “Save DWG to Phantoms Dir” from the Phantoms flyout of the VidCAD toolbar.
Note: You are also prompted to “Save DWG to Phantoms Dir” the first time you transmutate a cable or piece of equipment.
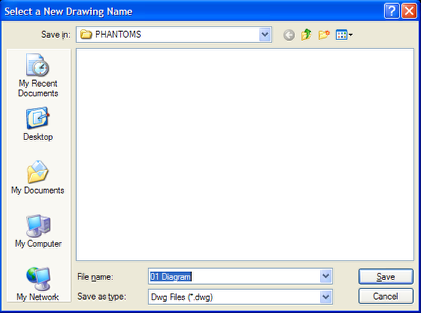
2. A Select a New Drawing Name window opens. The “Save in” location should be the Phantoms folder of the current Project folder. Rename the file or accept the suggested file name.
3. Your Phantom drawing is now saved in the Phantoms folder.
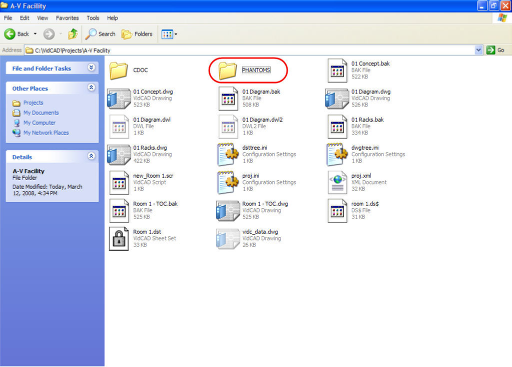
4. If you want to reuse this Phantom Drawing, you can navigate to the Phantoms Directory and copy it. Paste it in the project directory (rename if needed) where you want to reuse the drawing.
Note: You will need to add the layout to your Room (Sheet Set Manager).