Defining a New Router in the Product Library
Prior to assigning a router connection, the router must be defined and added to a project. The procedure below will guide you through creating a new router model in the product library.
1. Select “Phantom Cable Transmutate” from the VidCAD Cables ribbon or toolbar.
2. Select the Router image from the Phantom Cable Transmutate window box.
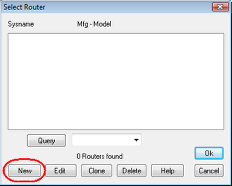
3. From the Select Router window select “New.”
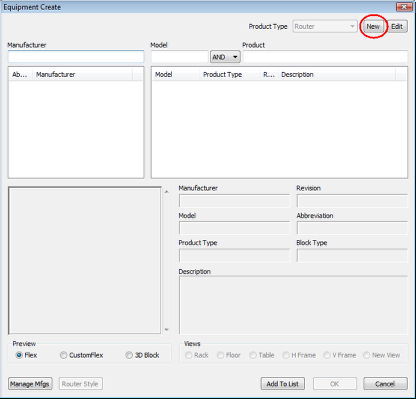
4. From the Equipment Create window select “New.”
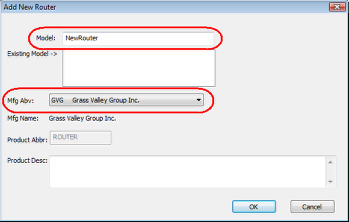
5. Key in a new model in the “Model” field and select a manufacturer, then select “OK.”
6. Select “Add” from the input side of the Edit Router IOs tab.
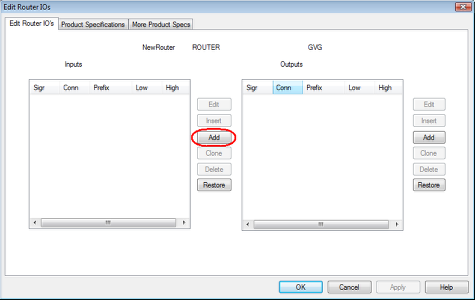
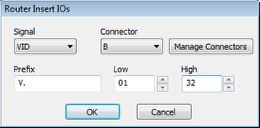
7. At the Router Insert IOs window, change the signal type to "VID," the connector to "B," and the Prefix to "V." Change the Low field to "01" and the High field to "32." Then Select “OK.”
Note: The range defined at this point determines the number of inputs for this video type (e.g., V.00, V.01, V.02, V.32).
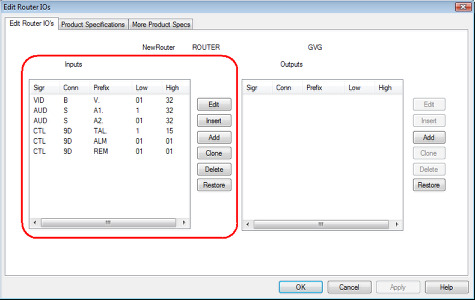
8. Select “Add” again and continue adding input levels as shown in the image below.
9. Highlight the input levels and select the “Clone” command.
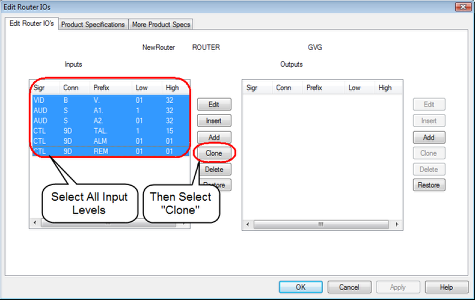
10. All inputs should now be cloned to the output side of the Edit Router IOs window.

11. Select “OK” to Close the Edit Router window and return to the Equipment Create window.
12. In the Equipment Create window, verify that your new router appears on the list with the appropriate manufacturer.
13. Close the Equipment Create window.
14. You can now assign the router to a VidCAD project.