Adding Jack Panels to a Project
Once you create jack panels (i.e., terminals), you can easily add them to your project from the Phantom Cable Transmutate window.
1. Select “Phantom Cable Transmutate” from the VidCAD Cables ribbon or toolbar.
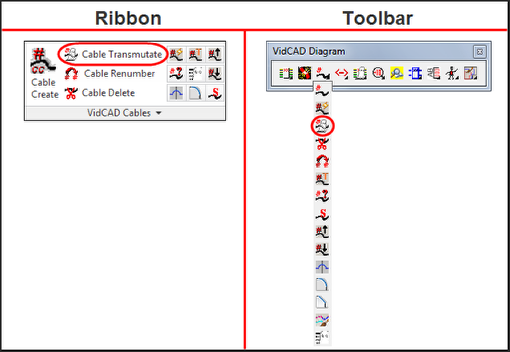
2. Select the jack symbol from the Phantom Cable Transmutate window.
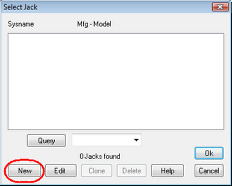
3. Select “New” in the Select Jack window.
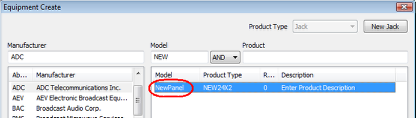
4. In the Equipment Create window, select your new jack panel.
5. Modify the Prefix, Product Abbreviation and Number fields to form the desired Sysname in the Select System Name window.
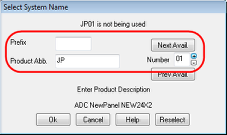
6. Select “Ok.”
7. Modify the Prefix, I/O Type, Low and High, and Connector definitions then select “Ok.”

8. The jack panel is now created and you are returned to your drawing with the Phantom Cable Transmutate window still active. You can transmutate cables and assign jack symbols to this jack panel.
Note: The Sysname of the jack panel displays next to the jack symbol in the Phantom Cable Transmutate window.