Exporting a Facility with Libraries
Using the Export/Remove command from the VidCAD Main Menu, you can create a proj.xml (which is used to capture project and library data about this facility) without removing the facility from the Facilities list. This process is helpful for sharing the facility data and drawings with other VidCAD users or with VidCAD Technical Support.
In previous versions of VidCAD SQL, the Facility Export utility created an .xml file containing cable number and equipment sysname information. The project could then be added to any other VidCAD user running the same version and that user could run reports, and modify the drawings to a degree. However, the Facility Export did not include library equipment FlexiBLOCK information needed to properly maintain the drawings or to share and “merge” the equipment that was created new to the project.
The Export With Libraries functions includes FlexiBLOCK, router, cable type, connector, along with the standard cable number and sysname information. In other words, it merges any new pieces of equipment associated with this project into the VidCAD SQL database.
Note: Export with Libraries does not copy or merge custom jack panels or 3D blocks at this time.
Where can Export with Libraries be used?
…Integrator to Customer…
Many integrators using VidCAD have customers who also use VidCAD. With past versions of VidCAD an integrator had two options. Provide their entire library of equipment to their customer, or provide the project only without any project specific FlexiBLOCK information. Many integrators tightly control their block library and integrators can now use the Enhanced Facility Export procedure to provide their customers a project that contains all FlexiBLOCK information for that project only.
…Manufacturer to Integrator…
Manufacturers can now create a VidCAD project with all of their new equipment and easily share it with integrators or other VidCAD end users.
…VidCAD User to VidCAD User…
VidCAD users that are working in a non-networked environment can use the enhanced Facility Export procedure to share block information with coworkers and associates.
Using Export with Libraries is a three part process.
Part 1 Exporting Your Facility
1. Open your VidCAD Main Menu.
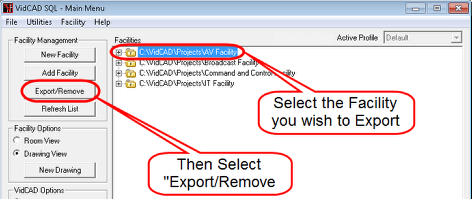
2. Highlight the facility you want to export. Then select “Export/Remove.”
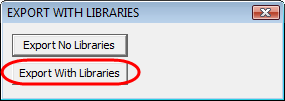
3. Select “Export With Libraries” from the Export With Libraries window.
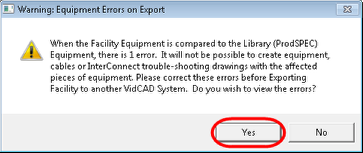
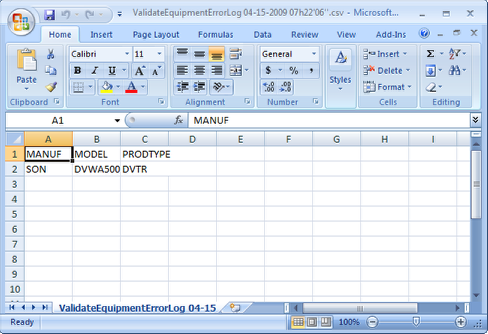
4. When “Export With Libraries” is selected, VidCAD will test the project database and the main equipment library and notify you if there are any problems. If there are any problems, you can select “Yes” in the window below to view an Excel list of the equipment. If there are no problems reported, you will not see the message shown below.
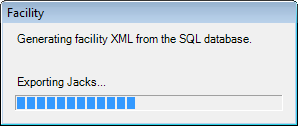
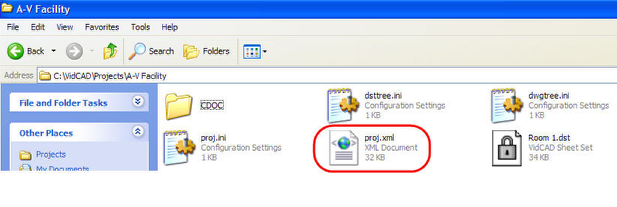
5. VidCAD creates a proj.xml file in the facility folder. The proj.xml file contains information about this project, which allows the project to be added by any VidCAD user running the same version or higher of VidCAD.
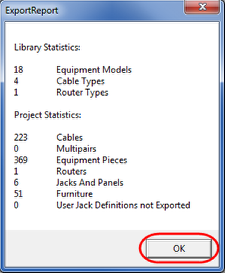
6. Select "OK" in the ExportReport window.
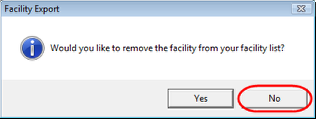
7. Select "No" to keep the facility on the list.
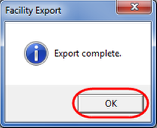
8. In the Facility Export window, select “OK” to complete the export.
9. Navigate to the project folder and verify that the proj.xml file was created.
10. The facility can now be sent to any VidCAD user using the same or higher version of VidCAD SQL.
Part 2 Copy and Send the Facility
1. Navigate to C:\VidCAD\Projects and copy the facility folder that was exported in Part 1 of these instructions.
2. Send the facility folder to any VidCAD user running the same or higher version of VidCAD SQL .
3. The recipient of the facility folder should place the project folder with all other VidCAD projects, C:\VidCAD\Projects by default.
Part 3 Adding your Facility
This part of the process is for the recipient of the facility that was exported in Part 1.
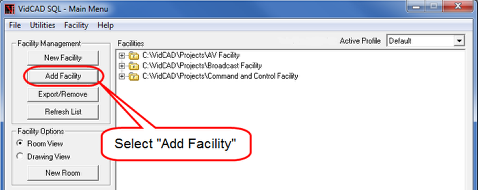
1. Open the VidCAD Main Menu.
2. Select “Add Facility” from the Facility Management Area of the VidCAD Main Menu.
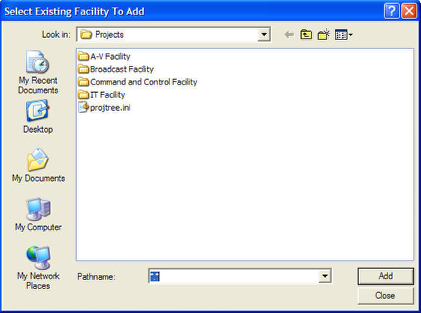
3. The Select Existing Facilities To Add window should point the “Look In” field to your Projects directory. If it does not, navigate to your Projects directory.
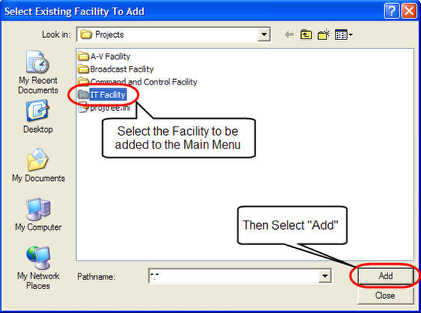
4. Highlight the facility you wish to add to your VidCAD Main Menu. Then select “Add.”
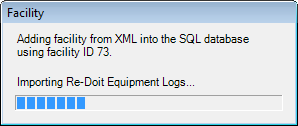
5. The proj.xml file is read and information is transferred to the SQL database.
6. After the facility is added, select “Close” to exit the window and return to the VidCAD Main Menu.
7. When the Facility is added, the proj.xml file is read and any project specific information, including FlexiBLOCK, cable types, connectors, routers, etc., will be added to the database.