Adding Phantom Equipment to a Drawing
Equipment that exists in a drawing but not in the database, aka “Phantom” equipment, is added to the drawing using the VidCAD Equipment Create command. If you are placing the equipment in a diagram drawing, you will be prompted to select the I/Os you wish to display on the block. The example below will guide you through placing a piece of Phantom equipment in a diagram drawing.
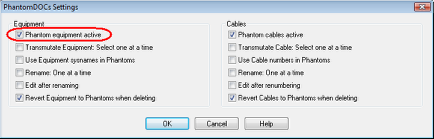
1. Select “Phantom Settings” from the VidCAD Settings ribbon or toolbar.

2. Check “Phantom Equipment Active” then select “OK.”
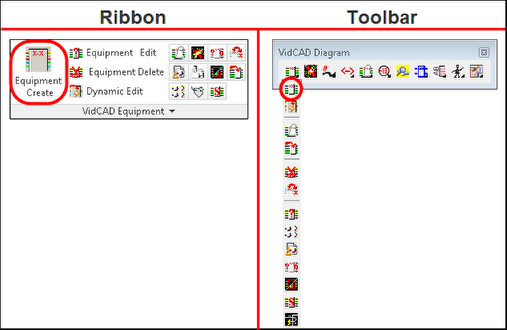
3. Select “Equipment Create” from the VidCAD Equipment ribbon or toolbar.
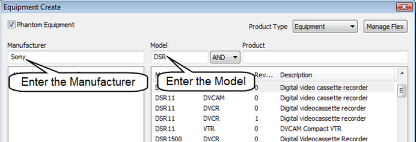
4. In the Equipment Create window enter the Manufacturer and Model, then select “Enter.”
Note: You can also leave the fields blank to view the entire list of manufacturers or models.
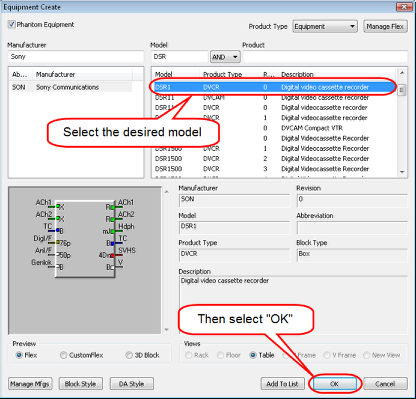
5. Select the desired model and revision from the list and select “OK.”
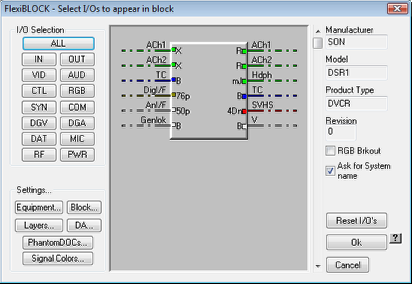
6. In the FlexiBLOCK Select I/Os to Appear in Block window you can choose which inputs and outputs you want to display on your block.
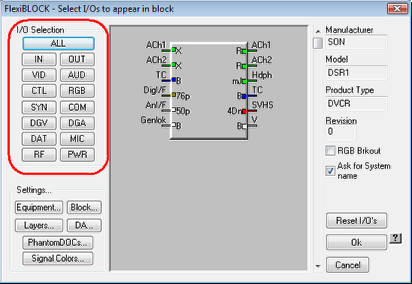
7. From the I/O Selection area you can turn I/Os on by signal type, all inputs, or all outputs.
8. You can also turn I/Os on manually by clicking on the tip of the I/O.
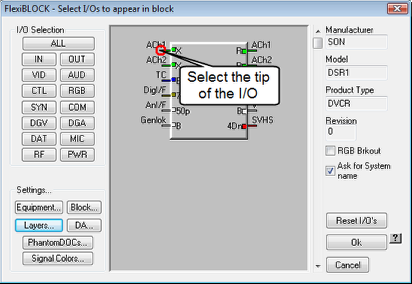
9. If you hold down your mouse button when selecting the tip of the I/O, you can drag your mouse up or down and activate multiple I/Os all at once.
10. Experiment until you find a method you are comfortable with, then select all I/Os.
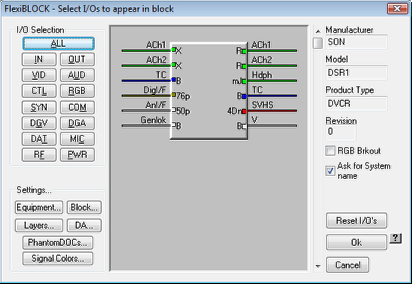
11. Select “Ok.”
12. Select a point in the drawing to place the equipment.
13. After you insert your equipment, the command is still active and you can place identical phantom equipment items by selecting another point in the drawing. Select the “Esc” key to exit the command.
14. Your phantom equipment is now added to your drawing and is easily identified as phantom by its dash dot linetype.